
In today’s digital age, video content has become a powerful medium for self-expression, storytelling, and communication. InShot is a versatile and user-friendly mobile app that can help you achieve your editing goals.
In this comprehensive guide, we’ll walk you through various aspects of video editing with InShot app. From adding transitions and special effects to mastering audio editing and voiceovers, we’ve got you covered. So, let’s dive in and discover how to create captivating videos with InShot!
Getting Started with InShot
Installing and Setting Up InShot
Before you can start creating amazing videos with InShot, you’ll need to install the app and set it up on your mobile device. Follow these simple steps to get started:
- Install InShot: Head to your device’s app store, whether it’s the Apple App Store for iOS or the Google Play Store for Android, and search for “InShot.” Download and install the app on your device.
- Open InShot: Once the installation is complete, open the InShot app. You’ll be greeted with a welcoming interface designed to make your editing experience seamless.
Navigating the InShot Interface
InShot’s user-friendly interface is designed to cater to both beginners and experienced editors. Here’s a quick overview of the main components of the interface:
- Toolbar: Located at the bottom of the screen, the toolbar houses essential editing tools such as trim, text, effects, and more.
- Canvas: The central area where you can preview your video and make edits in real-time.
- Timeline: Below the canvas, you’ll find the timeline, which allows you to arrange and edit video clips, text, and effects with precision.
- Export Options: In the top-right corner, you’ll find the export button, which lets you save and share your edited videos.
Importing Your Video Footage
To begin editing, you need to import your video footage into InShot. Here’s how you can do it:
- Tap the ‘+’ Button: In the toolbar, tap the ‘+’ button to access your device’s media library.
- Select Your Video: Choose the video clip you want to edit from your device’s gallery and tap “Open” to import it into InShot.
Now that you’ve imported your video, it’s time to explore some basic editing techniques.
Basic Video Editing Techniques
How to Trim and Split Clips in InShot
Trimming and splitting video clips are fundamental editing techniques that allow you to remove unwanted portions and create a seamless flow in your video. Here’s how you can do it in InShot:
- Select Your Clip: In the timeline, tap on the video clip you want to edit to select it.
- Trimming: To trim the beginning or end of the clip, drag the handles that appear at the edges of the clip on the timeline. You can also use the “Cut” option in the toolbar to split the clip into multiple segments.
- Splitting: If you want to split a clip into two or more separate segments, position the playhead at the desired point on the timeline and use the “Split” option in the toolbar.
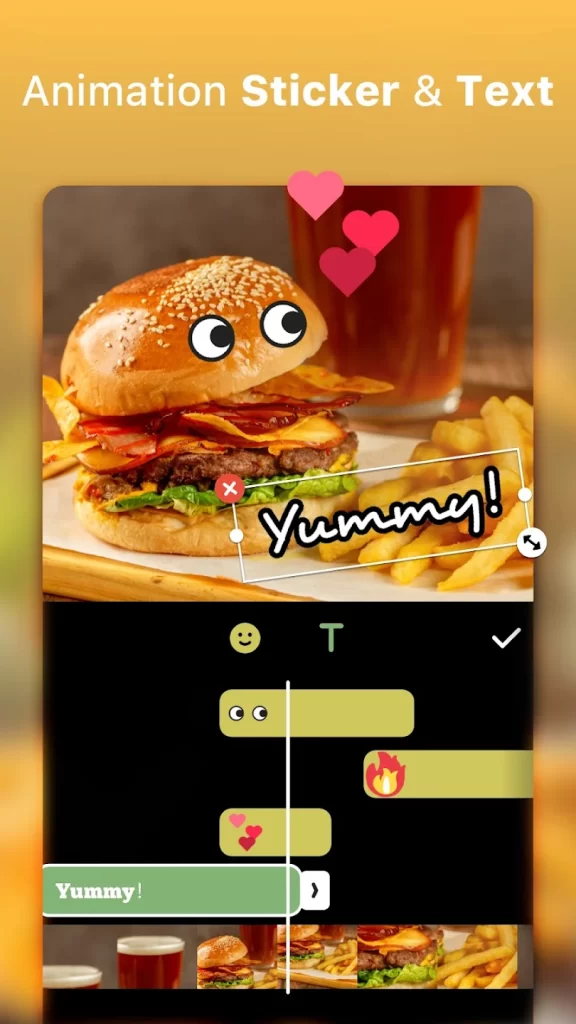
Adding Text and Captions
Adding text and captions to your video can help convey your message effectively. InShot provides various options for adding text. Here’s how you can do it:
- Tap the ‘Text’ Button: In the toolbar, tap the ‘Text’ button to access the text editing options.
- Edit Text: You can enter your text, choose a font, adjust its size, color, and position it anywhere on the video.
- Duration and Animation: InShot allows you to set the duration of the text and apply animations for eye-catching effects.
Adjusting Video Speed
Changing the speed of your video can create dramatic or comedic effects. InShot offers speed adjustment options:
- Select Your Clip: Choose the video clip you want to speed up or slow down.
- Adjust Speed: Tap the speedometer icon in the toolbar. You can choose from various speed presets or enter a custom speed value.

Enhancing Video Quality
InShot also provides tools to enhance the quality of your video:
- Tap the ‘Adjust’ Button: In the toolbar, tap the ‘Adjust’ button to access options for adjusting brightness, contrast, saturation, and more.
- Filters: Explore a wide range of filters to give your video a unique look and feel.
Now that you’ve learned some basic editing techniques let’s delve into advanced features like adding transitions and special effects.
Advanced Video Editing Features
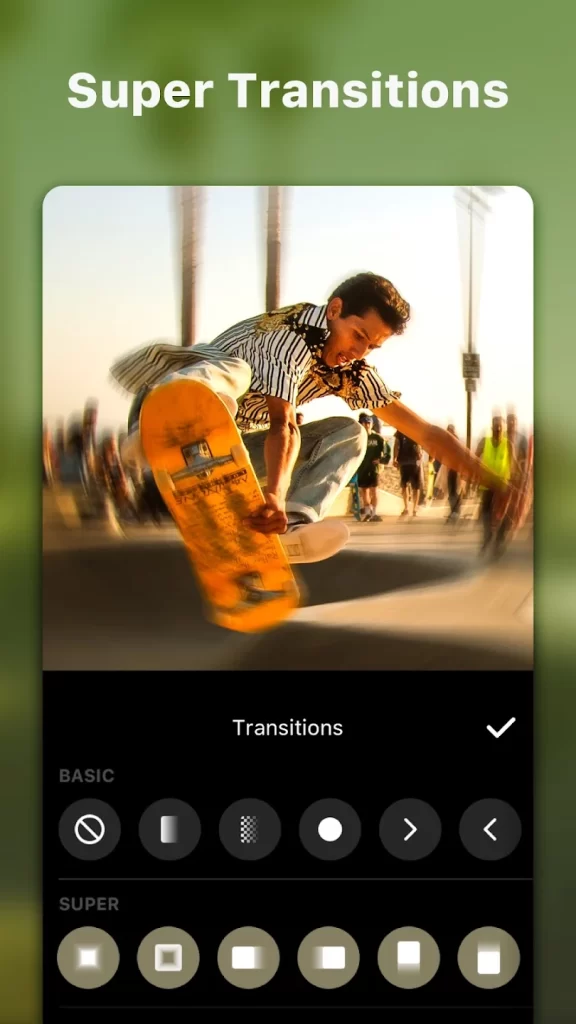
Adding Transitions in InShot
Transitions can make your video smoother and more visually appealing. InShot offers a variety of transition options:
- Select Your Clips: Arrange the clips on the timeline where you want the transition to occur.
- Access Transitions: Tap the ‘Transition’ button in the toolbar to access transition effects.
- Apply Transition: Choose a transition effect and apply it between the two clips.
Creating Stunning Visual Effects
InShot provides a wide array of visual effects to enhance your videos:
- Tap the ‘Effect’ Button: In the toolbar, tap the ‘Effect’ button to explore the visual effects library.
- Apply Effects: Choose an effect and apply it to your video. Adjust the intensity as needed.
Blurring Backgrounds for a Professional Look
Blurring the background can bring focus to your subject or create a cinematic effect:
- Select Your Clip: Choose the video clip where you want to apply the background blur.
- Access Background Blur: Tap the ‘Effect’ button, then select the ‘Blur’ category and choose the desired blur effect.
- Adjust Intensity: You can adjust the blur intensity to achieve the desired effect.
Incorporating Animations
Animations can add a dynamic touch to your videos:
- Tap the ‘Animation’ Button: In the toolbar, tap the ‘Animation’ button to access animation presets.
- Apply Animation: Select an animation style and apply it to your text, overlays, or images.
With advanced editing techniques at your disposal, let’s move on to the world of audio editing with InShot.
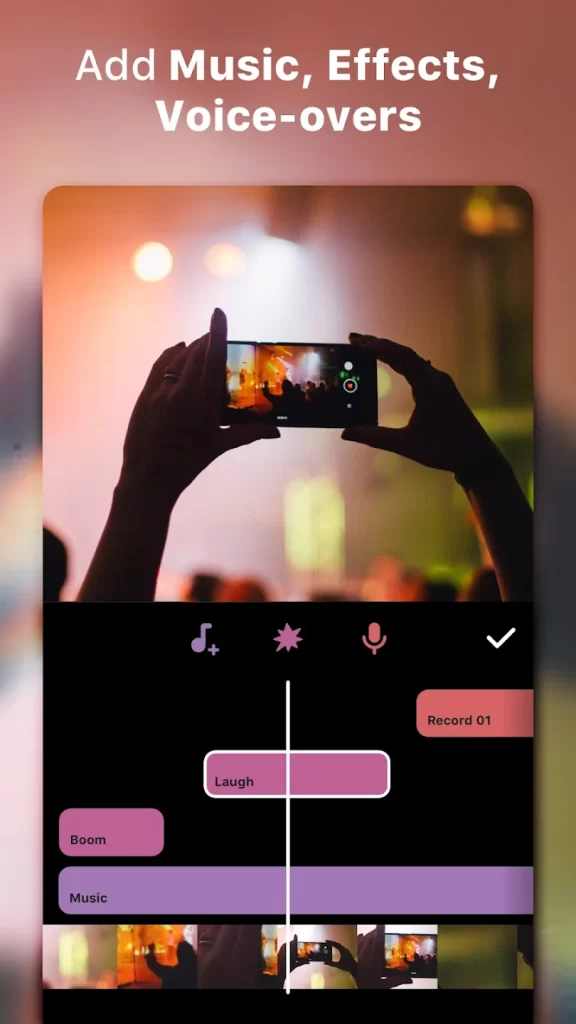
Audio Magic with InShot
Editing and Trimming Music
InShot allows you to add music to your videos and customize it:
- Tap the ‘Music’ Button: In the toolbar, tap the ‘Music’ button to access the music library.
- Select Your Track: Choose a music track from your library and adjust its length and position on the timeline.
- Trim Music: Use the trim option to select a specific segment of the music track.
Removing Noise and Background Sounds
Clean audio is essential for a professional video. InShot offers tools to remove noise and unwanted sounds:
- Tap the ‘Voice’ Button: In the toolbar, tap the ‘Voice’ button to access audio settings.
- Noise Removal: Use the noise removal tool to reduce background noise and enhance voice clarity.
Adding Voiceovers
Voiceovers can provide context and narration to your videos:
- Tap the ‘Voiceover’ Button: In the toolbar, tap the ‘Voiceover’ button to record your voiceover directly in InShot.
- Import Voiceover: You can also import pre-recorded voiceovers and sync them with your video.
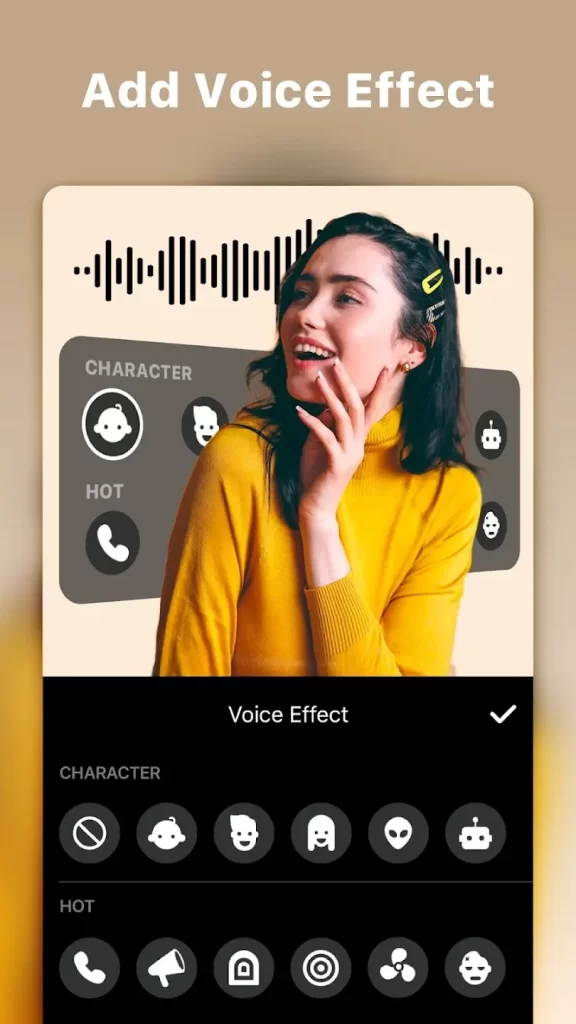
Voice Modulation for Fun and Creativity
InShot offers voice modulation options for creative projects:
- Access Voice Modulation: In the voiceover settings, explore the voice modulation options to change your voice’s pitch and speed.
With your video edited to perfection, it’s time to add the final touches and export your masterpiece.


Final Touches and Exporting
Perfecting Your Video with Filters
Filters can give your video a unique and polished look:
- Tap the ‘Filter’ Button: In the toolbar, tap the ‘Filter’ button to browse through filter options.
- Apply Filter: Choose a filter that suits your video and adjust its intensity.
Exporting Your Masterpiece
Once you’re satisfied with your video, it’s time to export it:
- Tap the ‘Export’ Button: In the top-right corner, tap the ‘Export’ button.
- Choose Export Settings: Select the desired resolution and quality settings for your video.
- Export: Tap ‘Export’ again to save your edited video to your device.
Ensuring Copyright-Compliant Music
When using music in your videos, ensure that you have the necessary rights or use copyright-compliant music from reputable sources to avoid any legal issues.
Conclusion
Congratulations! You’ve now learned how to harness the power of InShot to edit videos like a pro. Whether you’re creating content for social media, personal projects, or professional endeavors, InShot’s versatile features have you covered. Remember to experiment, unleash your creativity, and have fun while crafting your video masterpieces. Happy editing!
Learn How to Add Subtitles to Your Videos Here

FAQs – Frequently Asked Questions
What devices support InShot?
InShot is available for both iOS and Android devices. You can download it from the Apple App Store or Google Play Store.
Is InShot suitable for beginners?
Yes, InShot is designed with a user-friendly interface, making it suitable for beginners who are new to video editing.
Can I use copyrighted music in my videos?
Using copyrighted music without proper licensing can lead to copyright infringement issues. It’s advisable to use royalty-free or licensed music to avoid legal problems.
How do I export my edited video?
To export your edited video, simply tap the ‘Export’ button in the top-right corner of the screen, choose your export settings, and tap ‘Export’ again to save the video to your device.
Can I reverse a video clip in InShot?
Yes, InShot allows you to reverse video clips. Simply select the clip you want to reverse, tap the ‘Reverse’ option, and your video clip will play in reverse.